In the modern world, where automated eye exams are creeping in, there is one skill that remains the ultimate “lie detector” for an optometrist: static retinoscopy. Also known as “skiascopy,” this is the art of objectively measuring a patient’s refractive error using nothing but light and lenses.
While auto-refractors are quick, they can be fooled by accommodation (focusing) or media opacities. A solid static retinoscopy technique, however, cuts through the noise. It is an essential skill for every optometrist, particularly when working with young children, patients with communication difficulties, or those who might be “malingering” (faking vision loss).
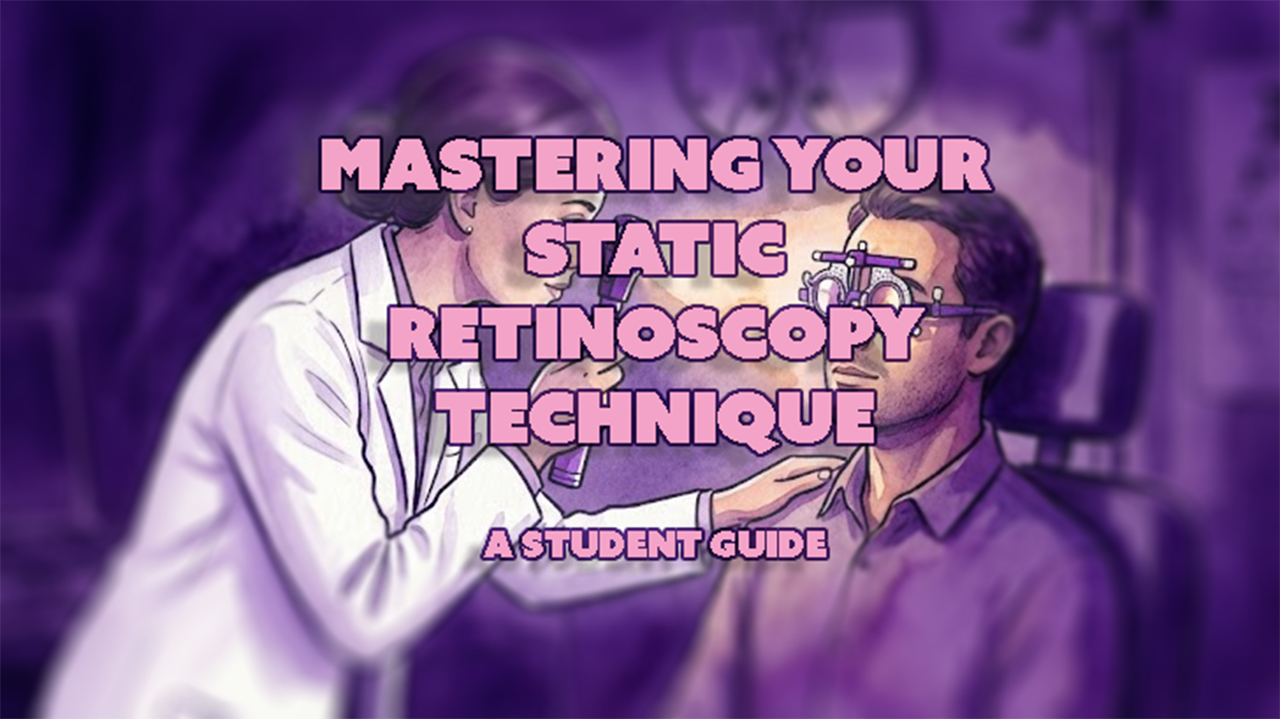
This guide is designed to help you refine your static retinoscopy technique, supplementing your university lectures with practical, real-world advice.
How Does the Static Retinoscopy Technique Work?
At its core, the static retinoscopy technique is about observing how light behaves as it bounces off the retina. You shine a streak of light into the patient’s eye and watch the “red reflex”, which is that orange glow within the pupil.

By moving your retinoscope across the eye, you observe how that light moves. Your goal during static retinoscopy is to use lenses to stop that movement, reaching a point called “neutrality.” When the reflex fills the pupil instantly without moving, this neutrality means that you have found the refractive error for that meridian.
Perfecting Your Retinoscopy Technique: A Step-by-Step Guide
Developing a reliable retinoscopy technique takes practice, but following a structured routine prevents errors.
1) Estimation and Setup
Before you even pick up the retinoscope, your static retinoscopy technique starts with the case history and unaided vision. Is the patient a myope or a hyperope?
Use this to guide your starting point. Explain to the patient that you are checking their prescription and that you need them to look at a distant, non-accommodative target (like the green circle on the duochrome) to relax their eyes.

2) Correcting for Working Distance
A crucial part of any static retinoscopy technique is accounting for the distance between you and the patient. Because you are not at optical infinity, you must add a “working distance lens” to the trial frame. This is calculated using the inverse of your arms length (in metres)
If you sit at 67cm (arm’s length), add a +1.50DS lens (1/0.67 = 1.50 DS)
If you sit at 50cm, add a +2.00DS lens. (as 1/0.50 = 2.00 DS)
This lens corrects the vergence of light, ensuring your final neutralised result accounts for how far away you are from the patient.
3) Alignment and Fogging
For an accurate static retinoscopy result, alignment is key. Ensure your retinoscope collar is down (plano position). When assessing the patient’s right eye, use your right eye and hold the retinoscope in your right hand. This ensures you are “on axis” without blocking the patient’s view of the distance target with your head.
Critically, you must “fog” the fellow eye. Before measuring the right eye, quickly check the left. If you see “with” movement, add plus power until you see “against” movement. This relaxes the patient’s accommodation, preventing fluctuating results – which is a common pitfall for those still mastering the static retinoscopy technique.
4) Refracting the First Meridian
Sweep your streak across the pupil. In your static retinoscopy technique, you are looking for the two principal meridians (usually horizontal and vertical). Identify the most hyperopic (or least myopic) meridian first—this will be the one with the slowest “with” movement or the fastest “against” movement.
Neutralise this meridian using spherical lenses.
Tip: A dull, slow reflex means you are far from the prescription. A bright, fast reflex means you are close.
5) Correcting the Second Meridian
Once the first meridian is neutral, rotate your streak 90 degrees to check the second. If you have mastered your static retinoscopy technique, you can correct this using cylinder lenses at the correct axis. However, many students find it easier to find the spherical lens that neutralises this second meridian and then swap it for the corresponding cylinder when neutralised.
6) Final Checks and The Second Eye
Once neutralised, lean in slightly (closer than your working distance). You should see “with” movement. Lean back (further away), and you should see “against” movement. This rocking motion confirms your static retinoscopy technique has hit the perfect end point.
Repeat the process for the left eye, remembering to switch hands and eyes (left eye, left hand) to stay on axis.
7) Don’t Forget the Working Distance Lenses
Once you are ready to move on to the subjective refraction, ensure to occlude (or fog) the left eye and then remove the working distance lens to ensure the patient is able to see clearly. If the patient reports things are blurry (or a poor visual acuity) when moving on to subjective, double check the working distance lens has been removed.
Interpreting the Movements in Retinoscopy
Understanding what you are seeing is the hardest part of learning static retinoscopy. The animations below aim to demonstrate the movements seen in retinoscopy.
With Movement

The reflex moves in the same direction as your sweep. This indicates the eye needs more plus (or less minus).
Against Movement

The reflex moves in the opposite direction to your sweep. This indicates the eye needs more minus (or less plus).
Neutral Reflex

The reflex doesn’t move; the pupil simply flashes full of light. This is the goal. You have neutralised the reflex.
Adapting Your Static Retinoscopy Technique for Difficult Eyes
Real eyes are rarely as perfect as the eyes demonstrated in the animations above. A robust static retinoscopy technique must adapt to pathology, and anomalies of the reflex.
Scissors Reflex

If the reflex looks like scissor blades closing, it may be due to corneal issues like keratoconus or optical aberrations. To adapt your static retinoscopy technique, try shortening your working distance or focusing on the very centre of the pupil.
Dim Reflexes
In high prescriptions or media opacities (like cataracts), the reflex can be incredibly dull. If a high prescription is suspected then a good static retinoscopy technique involves “bracketing”. This is adding high-powered lenses to see if you can brighten the reflex and find a starting point.
Summary
Static retinoscopy is a fundamental skill. It connects the physics of light to the biology of the eye. By mastering your static retinoscopy technique, you gain a superpower: the ability to assess your patient’s refractive error without the patient saying a single word.
It takes practice, patience, and a steady hand, but once you refine your static retinoscopy technique, it will become the most trusted tool in your belt.
Recommended Reading
For those who want to read around the subject, the following text is the gold standard for clinical skills and covers static retinoscopy technique in great detail:
“Clinical Procedures in Primary Eye Care”
by David B. Elliott.
(Note: This is an Amazon affiliate link. Using this link helps support The Eye Care Advocate at no extra cost to you).
Frequently Asked Questions
References
- Simsek M, Oral S, Erogul O, Sabaner MC, Simsek C, and Yorukoglu S (2022). Comparison of the results of four different refraction measurement devices in children with retinoscopy. Romanian Journal of Ophthalmology 66(4): 337-343. Available online at:
https://www.ncbi.nlm.nih.gov/pmc/articles/PMC9773113/ [Accessed: 26th January 2026]. - Naidoo K, and Govender P (2002). Case finding in the clinic: refractive errors. Community Eye Health 15(43): 39-40.
Available online at:
https://www.ncbi.nlm.nih.gov/pmc/articles/PMC1705884/ [Accessed: 26th January 2026]. - White E, Oke I, and Eng K (2023). Retinoscopy. EyeWiki by American Academy of Ophthalmology. Available online at: Information for “Retinoscopy” – EyeWiki (aao.org) [Accessed: 26th January 2026].
- Elliott DB (2007). Determination of the refractive correction. In: Elliott DB. Clinical Procedures in Primary Eye Care. Third Edition. Edinburgh: Elseveir pp 97-103.
- Santodomingo-Rubido J, Carracedo G, Suzaki A, Villa-Collar C, Vincent SJ, and Wolffsohn J (2022). Keratoconus: an updated review. Contact Lens and Anterior Eye 45(3): 101559.
This article is a refreshed version of my original article on Retinoscopy from April 2024 called “Static Retinoscopy 101“.
Leave a Reply